
Video Method
Sterilizing jars is a fundamental step in the food preservation process. When we talk about preserving food, we aim to extend its shelf life, ensuring it remains safe and delicious for future consumption. But why is sterilizing jars so crucial in this process?
- Elimination of Harmful Microorganisms: The primary purpose of sterilizing jars is to kill any harmful bacteria, yeasts, or molds that might be present. These microorganisms can cause food to spoil and can sometimes lead to foodborne illnesses. Once you’ve ensured your jars are sterile, you can safely store various foods, like these Dill Pickles.
- Ensuring Food Safety: When jars are properly sterilized, it ensures that the food stored inside remains safe for consumption. This is especially important for foods that are preserved without the use of preservatives or chemicals. Discover the importance of food safety in preservation from Britannica.
- Extending Shelf Life: Sterilized jars help in sealing the food in an airtight environment. This prevents the entry of any external contaminants, thus extending the shelf life of the preserved food.
- Preventing Contamination: If jars are not sterilized, there’s a risk that the preserved food might get contaminated. Contaminated food not only spoils faster but can also pose health risks.
- Maintaining Food Quality: Sterilizing jars also play a role in maintaining the quality of the preserved food. For instance, when preserving grilled vegetables, it’s crucial to ensure that the food’s flavor, texture, and nutritional value remain intact over time. Check out our guides on How to Make Grilled Peppers and Grilled Eggplants: 4 Ways for delicious recipes that can benefit from proper jar sterilization.
Key Takeaways
| Importance of Sterilization | Sterilizing jars is essential in the food preservation process to eliminate harmful microorganisms, ensuring the food remains safe and extends its shelf life. Proper sterilization prevents food spoilage, contamination, and maintains the quality of preserved food. |
| Sterilization Process | Sterilizing jars involves cleaning them, heating in an oven, and allowing them to cool. Lids can be sterilized by simmering in water. It’s crucial to handle sterilized jars with care, using the right tools, and ensuring they are sealed correctly after filling. |
| Risks of Improper Sterilization | Not sterilizing jars properly can lead to the growth of harmful bacteria, resulting in food spoilage, foodborne illnesses, and even severe conditions like botulism. It compromises food quality and can lead to economic losses. |
| Preservation Significance | Beyond the technicalities, preserving food is about nourishing families, cherishing seasonal produce, and upholding traditions. Each preserved jar represents a shared meal, a story, and a memory, emphasizing the importance of the care and love that goes into the preservation process. |
For the Process You’ll Need
Materials
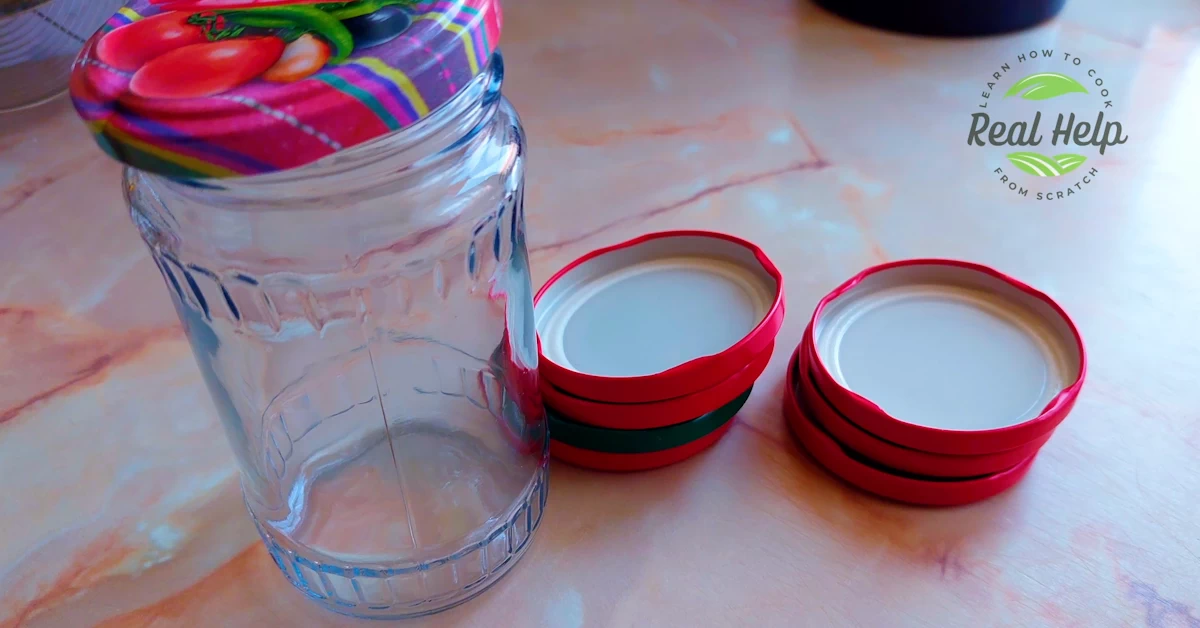
- Glass jars with lids (ensure they are new or without any bents or traces of rust)
Tools
- Oven
- Stove (if boiling the lids separately)
- Pot (for boiling the lids)
- Oven mitts or tongs
- Dish towel or cooling rack (for placing the hot jars on after sterilization)
How to Sterilize Jars
1. Initial Cleaning

Begin by washing all the jars and lids thoroughly.
2. Oven Preparation

Place the washed jars and lids in an unheated, cold oven. There’s no need to dry them entirely as they will dry once the oven starts heating.
3. Heating

Turn on the oven to its lowest setting. Allow the jars to “cook” for about 10 to 15 minutes. Once the oven reaches 150 degrees Celsius (302 degrees Fahrenheit), turn it off.
4. Cooling

Let the jars cool inside the oven for an additional 15 minutes.
Note on Lids
Ensure you’re using high-quality lids that are new and free from any bends or rust traces.
Alternative Method: Oven and Boiling
If you’re short on oven space, you can roast the jars in the oven and boil the lids separately.
- Roast the Jars: Follow the oven method for the jars.
- Boil the Lids: Place the lids in boiling water for 20 minutes.
Factors Affecting Boiling Time
The boiling time for sterilizing jars can vary based on several factors, including the size of the jars, the altitude of the location, and the type of food being preserved.
Altitude and Boiling Time
The boiling time increases with altitude. Here’s a breakdown based on altitude levels:
| Altitude | Boiling Time |
|---|---|
| 0 – 1,000 ft | 10 minutes |
| 1,001 – 6,000 ft | 15 minutes |
| Above 6,000 ft | 20 minutes |
What Precautions Should Be Taken When Handling Sterilized Jars?
Handling sterilized jars with care is of utmost importance. Any mishandling can introduce contaminants, negating the entire sterilization process.
- Using the Right Tools: Always use clean, dry oven mitts or a jar lifter when handling hot jars. These tools ensure a firm grip and prevent any accidental drops or spills.
- Avoiding Contamination: Never touch the inside of the sterilized jars or the underside of the lids. Even clean hands can introduce contaminants.
- Filling the Jars: It’s advisable to fill the jars while they are still warm. This prevents the glass from breaking due to the temperature difference when hot food is added.
- Checking the Rims: Before sealing the jars, ensure that the rims are clean and free from any food residues. Any residue can prevent a proper seal, leading to potential spoilage.
- Storing Sterilized Jars: If you’re not using the sterilized jars immediately, store them upside down in a clean, dry place. This prevents any dust or contaminants from entering the jars.
The goal of sterilization is to ensure the safety and longevity of preserved foods. Following the right precautions ensures that your efforts are not in vain.
Is It Necessary to Sterilize the Lids and Bands?

When it comes to canning and preserving, every detail matters, including the sterilization of the lids and bands. Here’s a closer look at this aspect:
- Importance of Sterilizing Lids: While the jars are the primary containers for the food, the lids play a crucial role in sealing the contents, preventing contamination. Sterilizing the lids ensures they are free from any contaminants, providing an airtight seal.
- Method for Sterilizing Lids: Lids can be sterilized by placing them in a pot of simmering water for at least 10 minutes. Ensure the water covers the lids completely. Once sterilized, use a clean pair of tongs to remove them and place them on a clean towel.
- Handling Bands: The bands used to secure the lids don’t necessarily need to be sterilized, but they should be clean. While they don’t come in direct contact with the food, dirty bands can introduce contaminants to the jar’s exterior, which can then be transferred to the contents during handling.
- Reusing Lids and Bands: It’s essential to note that while bands can be reused, lids should not be reused for canning. Over time, the sealing compound on the lids can degrade, leading to a poor seal during subsequent uses.
- Storing Lids and Bands: Store unused lids and bands in a cool, dry place. Keeping them away from moisture prevents rusting and ensures they remain in good condition for future use.
How Can One Check If the Jars Are Properly Sealed After Processing?
Ensuring that jars are properly sealed after processing is vital for the safety and longevity of the preserved food. Here’s how to check the seal:
- Press Test: Once the jars have cooled to room temperature, press the center of the lid with your finger. If the lid doesn’t pop back, it’s sealed correctly.
- Tap Test: Tap the lid with a spoon. A clear ringing sound indicates a good seal, while a dull sound might suggest the jar isn’t sealed properly.
- Visual Inspection: Look at the lid from the side. A properly sealed lid will be slightly concave in the center.
- Lift Test: Gently try to lift the lid using your fingertips. A properly sealed lid won’t budge.
- Storage: Once you’ve confirmed the jars are sealed correctly, store them in a cool, dark place. Remember to label each jar with the contents and the date of processing.
How Long Do Preserved Foods Last in Sterilized Jars?

The shelf life of preserved foods is a common concern for many. Here’s what you need to know:
- General Shelf Life: Typically, home-canned foods can last for up to a year when stored in a cool, dark, and dry place. However, the actual shelf life can vary based on the type of food and the preservation method used.
- Factors Affecting Shelf Life: Several factors can influence the shelf life of preserved foods, including the acidity of the food, the type of preservative used, and the storage conditions.
- Checking for Spoilage: Always inspect the jars before consuming the contents. Signs of spoilage include bulging lids, an off smell, or visible mold. If in doubt, it’s better to discard the food.
- Maximizing Shelf Life: To ensure the longest possible shelf life, always use fresh ingredients, follow the recommended canning process, and store the jars in optimal conditions.
- Rotation: If you have multiple batches of preserved foods, practice the “first in, first out” principle. Consume older batches before newer ones to ensure freshness.
Can Sterilized Jars Be Reused for Preserving Food?
Reusing materials is both economical and environmentally friendly. When it comes to canning, the question often arises: Can sterilized jars be reused? Let’s delve into this topic:
- Reusing Glass Canning Jars: Glass canning jars are designed to be durable and withstand the canning process multiple times. As long as they are free from cracks, chips, or any other damages, they can be reused for preserving food.
- Inspecting Jars: Before reusing, it’s essential to inspect each jar thoroughly. Check for any signs of damage, especially around the rim, as this can prevent a proper seal.
- Cleaning and Sterilizing: Even if a jar has been used before, it should be cleaned and sterilized again before each use. This ensures that any residual food particles or microorganisms are eliminated.
- Lids and Bands: While the glass jars can be reused, the lids, especially those with sealing compounds, should not be reused for canning. Over time, the sealing compound can degrade, leading to a poor seal during subsequent uses. Bands, on the other hand, can be reused as long as they are not rusted or bent.
- Environmental Benefits: Reusing canning jars reduces waste and the need for new materials. It’s a sustainable practice that benefits both the environment and the wallet.
Discover the environmental benefits of reusing.
What Are the Risks Associated with Not Properly Sterilizing Jars?
The process of sterilizing jars might seem tedious, but it’s a crucial step in ensuring the safety of preserved foods. Skipping or improperly executing this step can lead to several risks:
- Growth of Harmful Microorganisms: Without proper sterilization, harmful bacteria, yeasts, and molds can thrive in the preserved food. These microorganisms can cause the food to spoil and may produce toxins.
- Foodborne Illnesses: Consuming contaminated food can lead to foodborne illnesses. Some of these illnesses can be severe, causing symptoms ranging from mild stomach discomfort to more serious conditions that require hospitalization.
- Botulism: One of the most significant risks of improper canning is botulism, a rare but potentially fatal illness caused by the Clostridium botulinum bacteria. The bacteria produce a toxin that affects the nervous system.
- Compromised Food Quality: Even if the food doesn’t become hazardous, its quality can be compromised. The taste, texture, and nutritional value can degrade, leading to an unsatisfactory eating experience.
- Economic Loss: Spoiled food means wasted resources. From the ingredients to the time and effort spent preparing the food, not sterilizing jars properly can lead to economic losses.
What to Do If a Jar Doesn’t Seal Properly?
A proper seal is crucial for the safety and longevity of preserved foods. If a jar doesn’t seal correctly, here’s what you should do:
- Reprocess the Jar: If you notice that a jar hasn’t sealed within 24 hours of processing, you can reprocess it. Remove the lid, check the jar rim for any chips or cracks, wipe it clean, place a new sterilized lid, and process again.
- Refrigerate and Consume Soon: If you don’t want to reprocess the jar, store it in the refrigerator and consume the contents within a week.
- Check the Lid: Sometimes, the sealing compound on the lid might be compromised. Always use new lids when reprocessing jars.
- Avoid Overfilling: Ensure that you leave the recommended headspace when filling jars. Overfilling can prevent a proper seal.
- Attend to Any Residue: Before sealing, wipe the rim of the jar with a clean, damp cloth to remove any food residue. This ensures a clean contact between the jar and the lid, facilitating a proper seal.
A Final Word
As we wrap up our journey into the world of sterilizing jars and preserving food, it’s essential to remember the heart of why we do this. Beyond the science and the techniques, preserving food is a testament to our love for nourishing our families, cherishing seasonal bounties, and honoring age-old traditions. Each jar you seal is a promise of a meal shared, a story told, and a memory made. So, the next time you pop open a jar of your homemade delicacies, take a moment to savor not just the taste, but the love and care that went into it. Here’s to many more seasons of preserving, sharing, and celebrating life’s simple joys. 🍅🌿


Leave a Reply